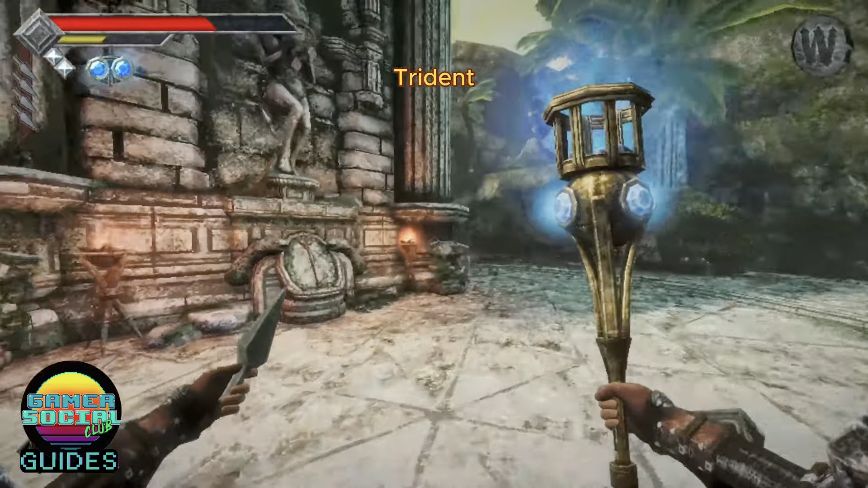
Trident is against the fish-person statue's base
Outside Obmuer Temple, climb the stone ramp and go around the corner at the top. Find the fish-person statue against the temple wall: Trident leans against its oval, shield-shaped base. Walk up and interact with the weapon.
On this page
From Aganmi's Camp to the statue
Before you go: have the Holy Sword's Wind Dash available. This approach begins at Aganmi's Camp.
- Follow the underwater tile path, turn right and use Wind Dash across the gap.
- Go behind the round tower, then follow the path on the right up the stone ramp.
- Deal with the Barnacle and skeletal archers at the top. Go around the corner to the fish-person statue against the temple's outer wall.
- Approach the oval shield-like base, read the Trident pickup prompt and interact.
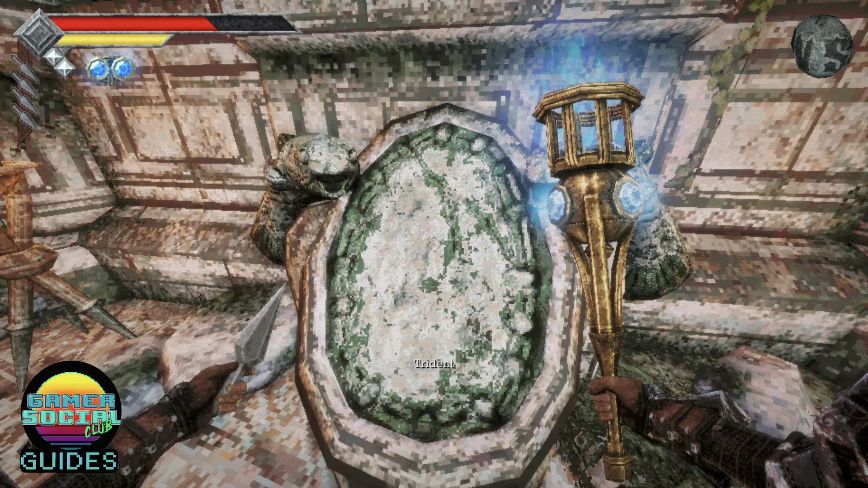
Done when: Trident appears in your inventory.
The entrance down the slope to the right uses four Triangular Slates. Those exterior entrance items are different from the Trident Keys used at the round gates inside the cave.
Does Trident break at level 5? Will Spirit Oil do it?
Two players in the current Steam temple-key discussion report that Trident breaks at weapon level 5 and leaves an additional temple key. The second level-5 reply gives the same threshold.
Spirit Oil is not a guaranteed instant break. It contributes weapon XP; gain enough XP to reach level 5. In a specific player report, one Oil raised Trident from roughly level 2 to 4.5, and the weapon broke only after more progress.
If the weapon is still intact after Oil, check its level and continue gaining weapon XP. Do not treat an intact level-4 weapon as proof that the extra-key route failed.
Start with Sapphire at the one-slot gate
Start: the underground Cave Entrance. These steps cover the early Sapphire and Emerald locks, rather than every later temple puzzle.
- Go downhill to the circular gate with a note, then drop from the ledge beside the waterfall.
- Near where you land, look in the wall for the Sapphire Trident Key.
- Across the flooded room, identify the left gate with one slot and the right gate with three slots. Put Sapphire in the left, one-slot gate, go through and save.
- At the save point, look down from the ledge toward the two circular openings in the far wall. The right opening has bars; use Wind Dash to reach the open left hole. Fight through and climb the stairs; collect the Emerald Trident Key from the rock by the skeletons upstairs.
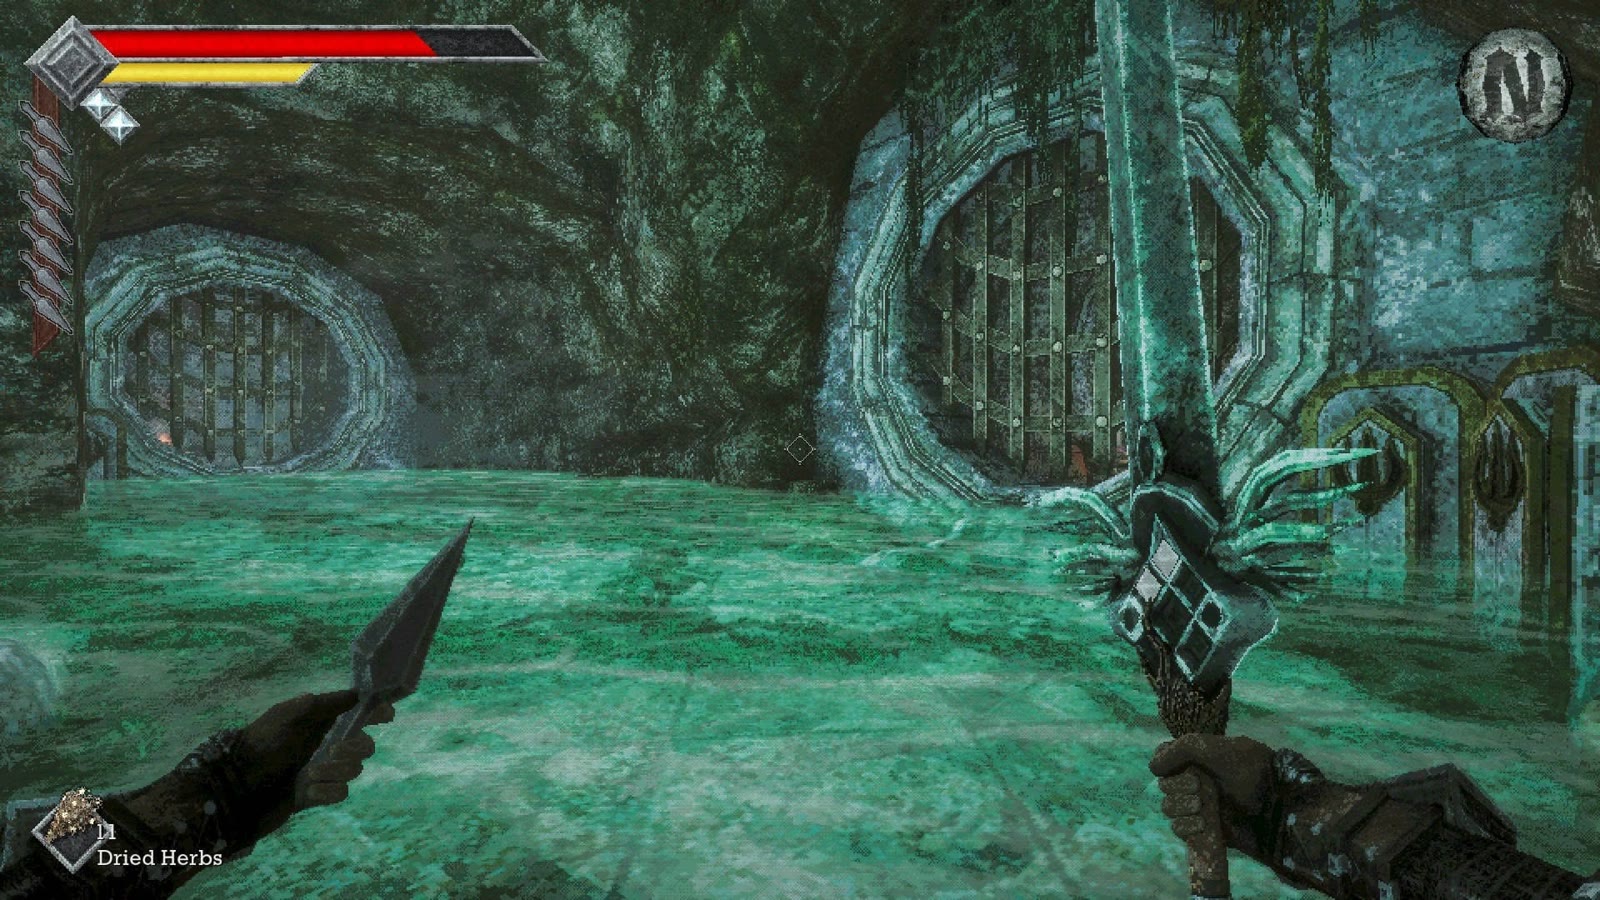
You do not need to solve the three-slot gate first to take this early route. Before searching for another key, check whether one of your keys is still sitting in an earlier lock.
Open the return loop, then take your keys back
From the upstairs skeleton room where you found Emerald, head northwest, turn left to face southwest, and use the sword dash across the gap. There are enemies on the far side; retreat across the gap if you need space. After clearing the area, face northwest and pick up the third Wind Gem.
Continue south, then southeast along the enemy-lined path. At its end, look for the lever on the left, locked gate ahead and side passage shown below.
- Use the left lever to raise the stairs, then use Emerald to open the gate straight ahead.
- Continue through to the Sacred Cistern save point.
- Return to the Emerald gate and interact with its key mechanism to retrieve Emerald.
- Take the side cave beside that gate, identifiable by a burned campfire and Roasted Ojum. Use its lever to open the two connecting paths.
- Take the right path back toward the area where you entered; the left path leads to Sacred Cistern. Return to the earlier Sapphire gate and retrieve Sapphire from its mechanism.
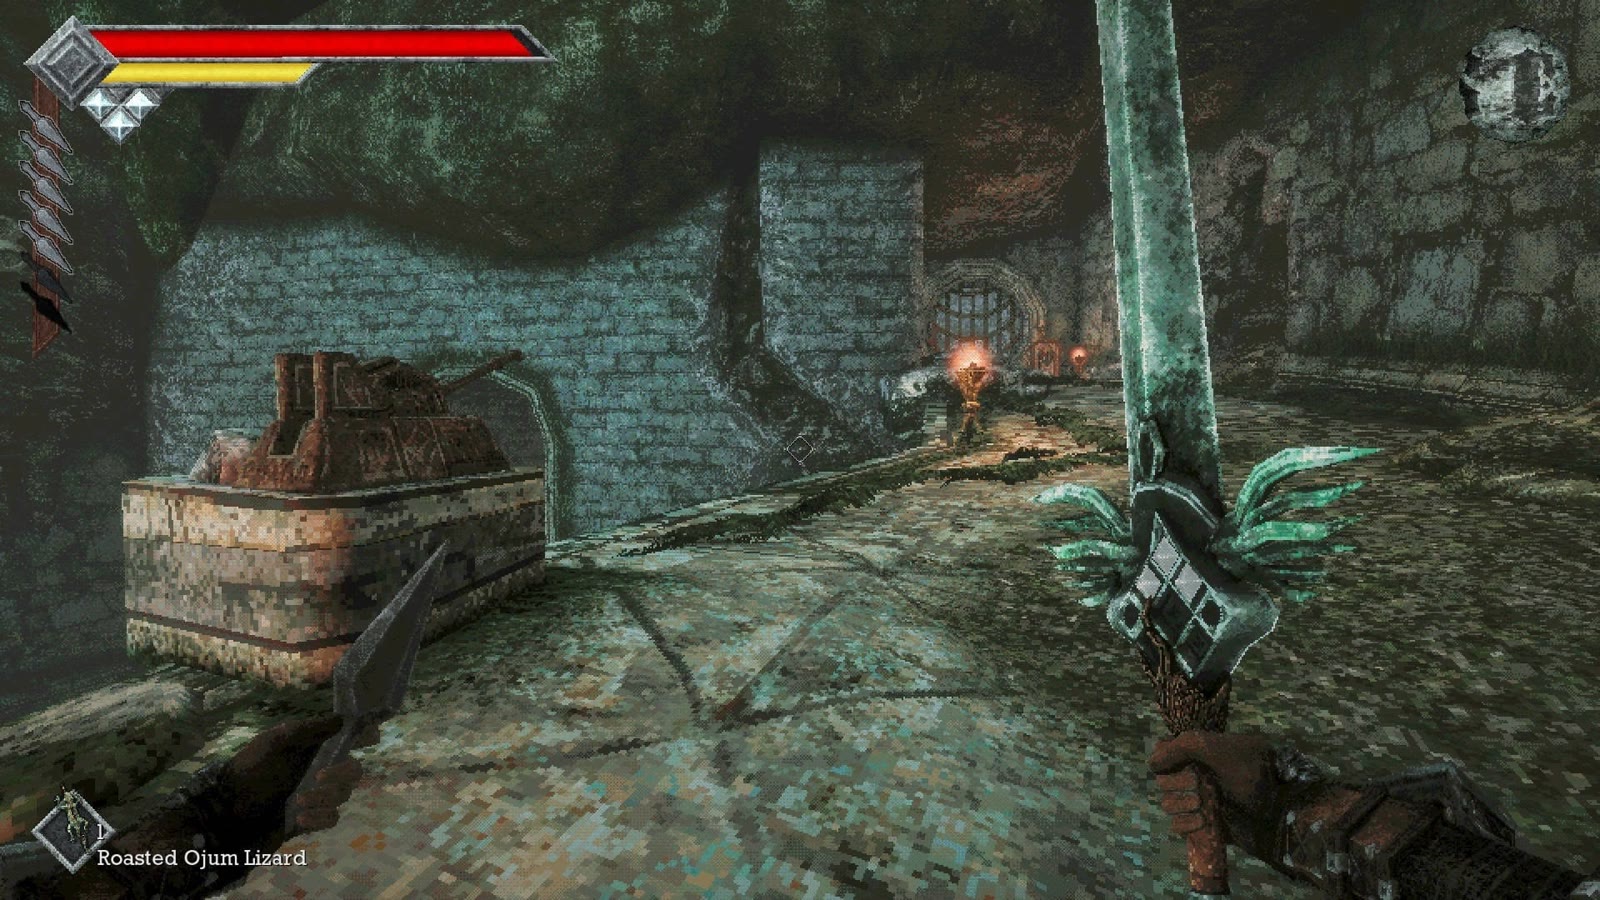
- Sapphire opens the left gate
Save beyond the one-slot gate and find Emerald upstairs.
- Emerald reaches Sacred Cistern
Return to its mechanism and take Emerald back.
- Open the loop; recover Sapphire
Use the side-cave lever before returning for the earlier key.
Done when: the connecting loop is open and both recovered keys are back in your inventory.