Circle, charge, strike, repeat
Move along the Shrine Guardian's side or back, let the Power bar build while preparing a charged attack, then make one attack. Keep moving as it turns and rebuild your next attack. If you lose the side position, pull away and set it up again. The Demo example below uses a Rusted Short Sword.
On this page
Before you commit
Know the difference between waiting for the attack bar to refill and holding the attack input to charge: the combat basics explain both. If you are preparing another attempt with low health, the Rest guide explains the normal recovery option.
Keep your position between single attacks
- Work around the side or back. Move with the Guardian as it turns so you are not planted directly in front of it.
- Build the next attack. Give the Power bar time to recover between hits. Hold the attack input when preparing a charged strike.
- Make one attack. Use the charged hit rather than following it with a string of rapid taps.
- Keep moving after the hit. Continue circling as the Guardian turns, then rebuild the bar and your next charged attack.
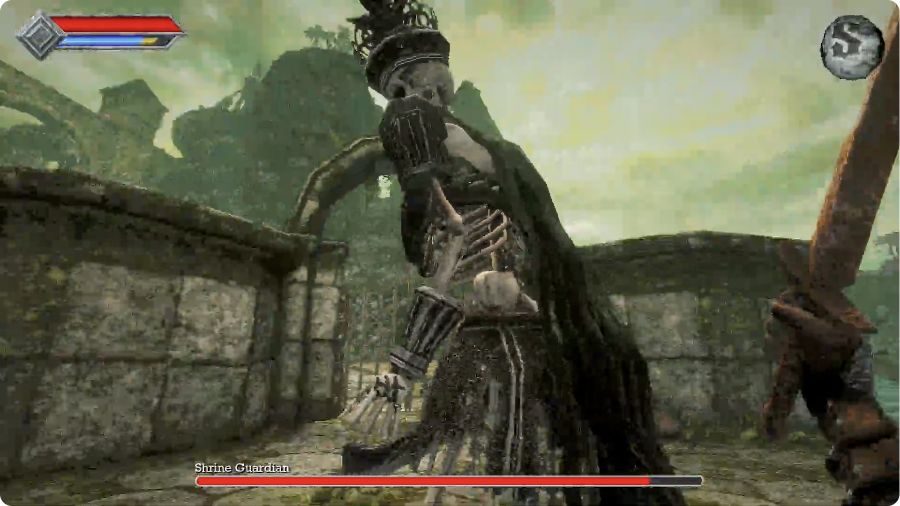
The useful rhythm is the movement between attacks: after a hit, keep adjusting your side position while the next attack builds. If the Guardian turns to face you, pull away instead of forcing another hit. Rebuild your position around the side before committing again.
Your reward and the opened gate
After the Guardian is defeated, it kneels, the game awards a Stone Duck Figurine, and the gate opens. The inventory below shows the reward by its in-game name.
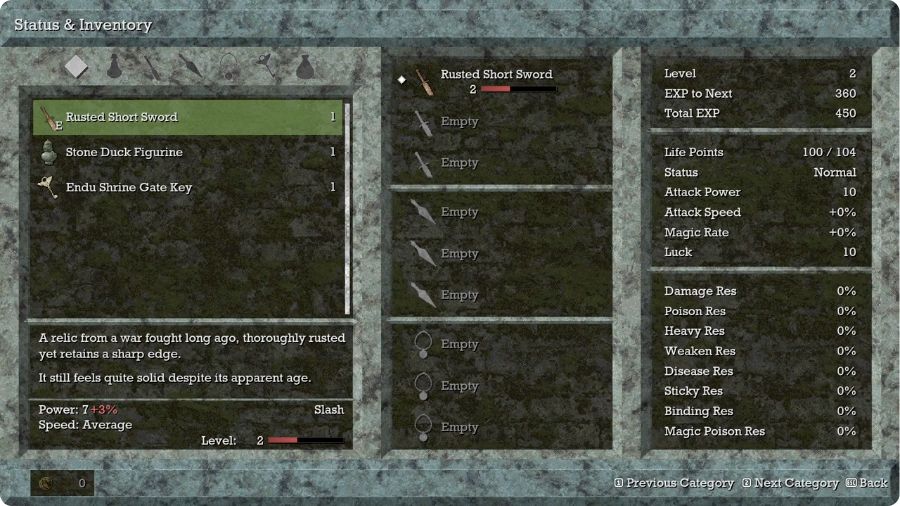
Go through the opened gate to continue.
What to read next
If your attacks still feel weak, revisit the full-bar attack rhythm. If you need to recover health before continuing, use the Rest explanation. Once you have finished the Demo, the secret-shop guide explains the crystal entrance.