Where to look
Rusted Spear: the tower-side stone recess.
Wooden Club: the upper-tomb chest before the descent to the skeleton hall.
To reach the Club from the tower, follow the coast to the tomb, descend the narrow curving stairs, then face the diamond-pattern wall and take the left branch. At the two adjacent arches, the chest is through the right arch.
On this page
Rusted Spear: the tower-side recess
Start: the first blue crystal beyond the camp's boarded exit. If you have not reached it, follow the opening route to the rest point.
Go up toward the tower
Take the stairs heading toward the tower. Stay on the stone path into the courtyard rather than turning off toward the shoreline island. Look for the large crawling enemy guarding a small stone recess.
Look for: the tower, stone stairs, and the enemy name Chilopoda when you face the guard.
Draw the guard out, then circle back inside
Let the Chilopoda follow you away from the entrance, then return to the recess. This creates an opening to collect the weapon without standing still beside the guard. It is a route option, not a promise of avoiding damage.
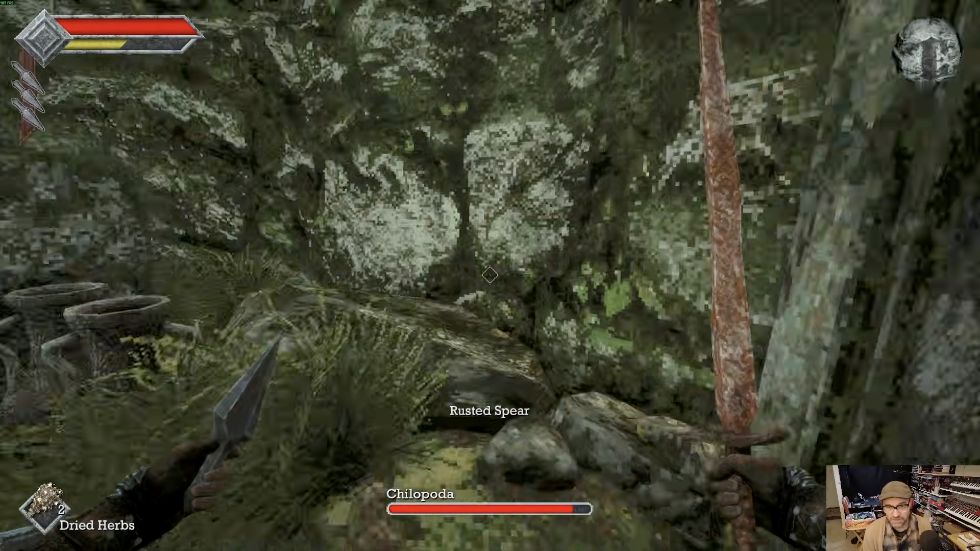
Check the mossy corner beside the pot for the Rusted Spear name. View full-size image Done when: you have collected the item labeled Rusted Spear.
Confirm the spear in your inventory
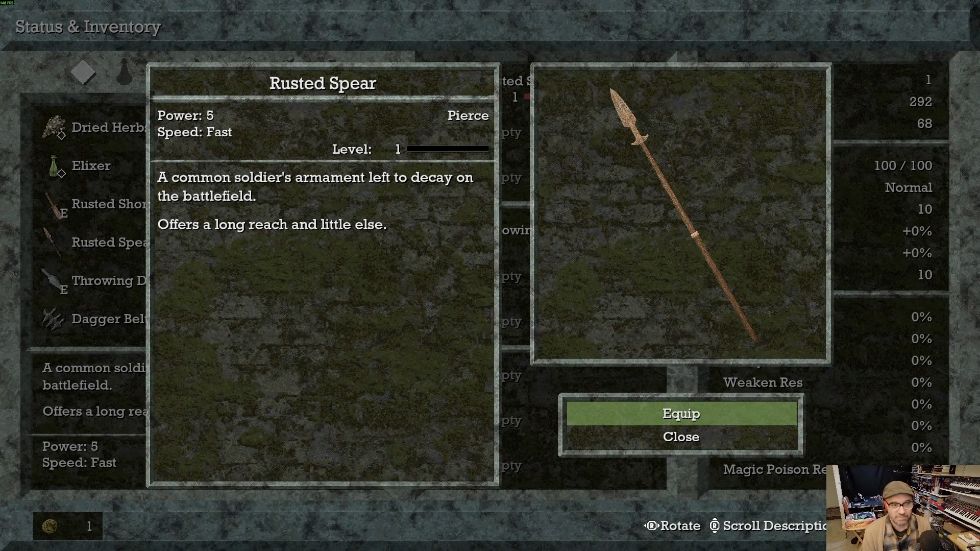
Rusted Spear is a Pierce weapon. The inspection view also shows its long, narrow shape. View full-size image Equip it from the inventory if you want to try the piercing option. Give the attack bar time to recover between strikes; changing weapons does not remove the attack-rhythm check.
From the tower courtyard to the tomb
Start: the courtyard outside the tower-side spear recess above. This coastal approach does not require the Shrine Gate or the camp shortcut to be open.
Leave the courtyard and follow the coast
Take the courtyard exit onto the coastal stone path, keeping the sea on your left and the cliff on your right. Continue beneath the broken stone arch. This is an arch over the path, not a broken bridge you need to jump across.
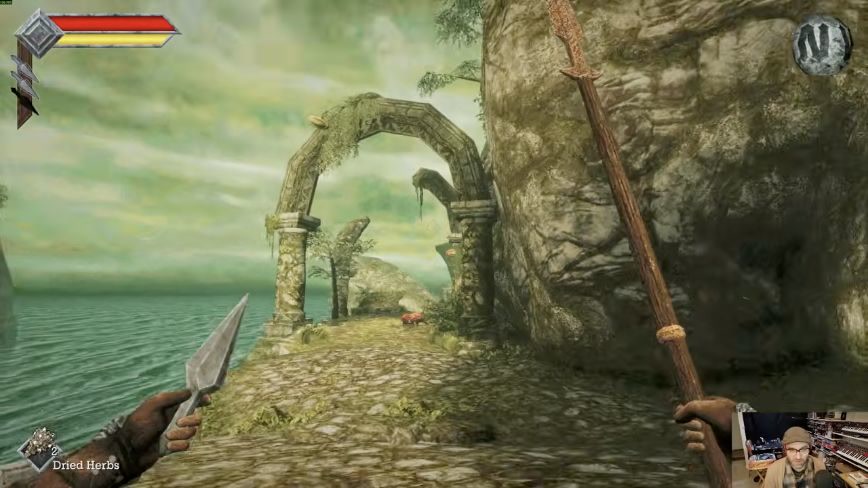
Walk beneath this arch along the coast; you do not need to jump a gap here. View full-size image Keep following the same coastal path, past the Ratty Bugs, into the narrow passage between the large rocks and the castle wall.
Use the beach and windowed ruin to find the inner path
The locked metal Shrine Gate and wounded knight Ippibi are on a side branch. If you reach them, turn back along the stone embankment to the beach; you do not need to unlock that gate to reach the tomb.
Along the beach, look for the large fallen ruin with an upright window opening. Pass it and take the inner path between the boulder and the high castle wall. A tree and a flower enemy mark the wall-side corner ahead.
Continue to the arched tomb entrance
Follow the inner route toward the large stone arch and burning braziers. Use the tree and two braziers below to recognize the approach, then enter the tomb through the large arch.
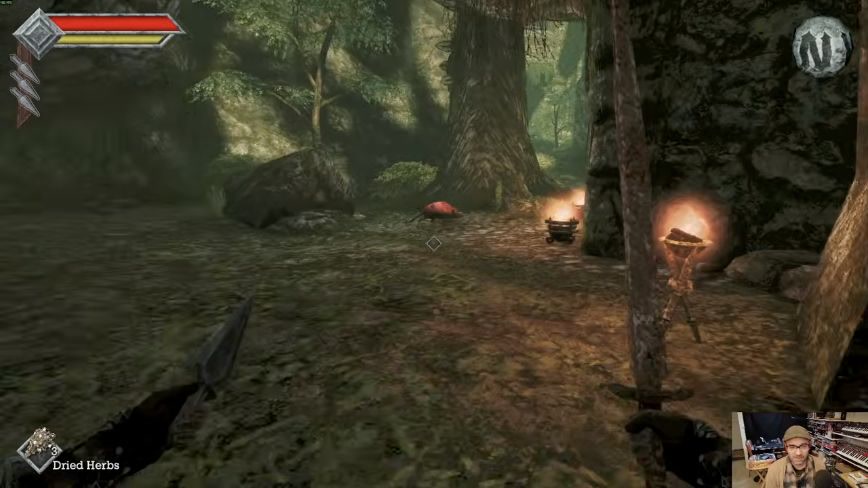
The tree and two braziers mark the approach to the tomb entrance. View full-size image Arrived when: you are inside the stone anteroom and can take the narrow curving stairs down. The route below continues from there.
Already opened the camp shortcut?
The recording opens a short dark passage from outside before returning to camp. If that shortcut is already open in your save, take the left-hand dark passage from the blue crystal toward the tree and two braziers. Do not take the wide stairs on the right toward the mechanical gate. If the passage is not open, use the coastal route above; this guide does not assume a fresh save can leave camp through it.
The detour back to camp, resting, and collecting herbs are not required stops on the route to the Club.
Descend to the diamond-wall junction
Take the narrow curving stairs down
From the entrance anteroom, use the narrow stair passage bending downward, not the corner with pots. At the bottom, continue into the corridor lit by orange braziers. The barrel room to the side is optional; you can return after collecting the Club.
Face the diamond-pattern wall, then go left
Follow the lit pointed arches until the corridor ends at the wall with a diamond-shaped relief. Facing that wall, take the left branch with the flower enemy for the Club. If you are heading straight for the key instead, follow the other branch down to the lower hall; the Club is not a prerequisite.
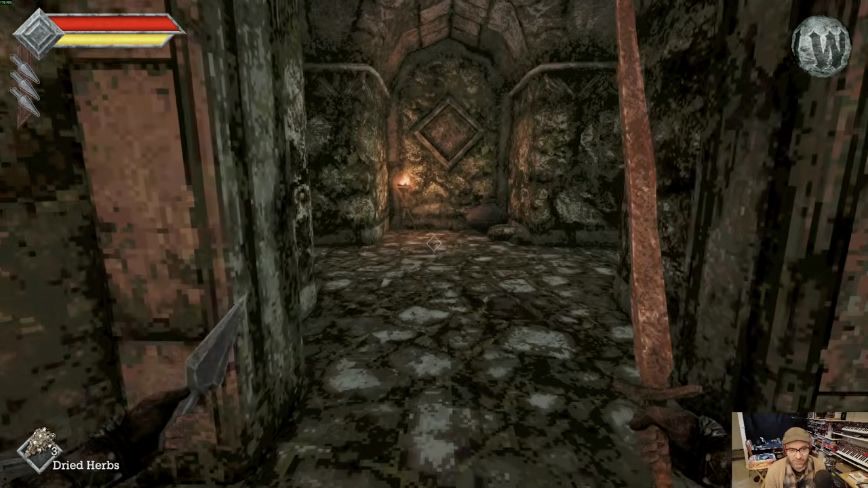
Face the diamond relief, then take the left branch toward the Club's twin-arch junction. View full-size image At the diamond wall: choose your task
Face the diamond relief shown above before using “left.” These branches share a junction, not a required pickup order.
Left · Wooden Club
Follow the flower-enemy branch to the twin arches. At those arches, use the right-hand arch for the chest.
Continue to the Club →Descending branch · Shrine key
Take the other branch toward the narrow stairs and lower hall. You can skip the Club and optional barrels.
Continue to the key →After the Club, retrace to this diamond wall to choose the key branch. Need to recover first? Use Rest at a crystal you have reached.
Arrived when: you can see two adjacent archways separated by a stone pier, as pictured below. Take their right-hand arch for the chest.
Wooden Club: the upper-tomb chest
Start: inside the upper tomb, at the pair of adjacent archways reached from the diamond-wall junction's left branch. Stay on this level until you have checked the chest room.
Take the right-hand arch into the chest room
Face the two archways divided by a stone pier. The left-hand arch leads toward the candlelit room. Take the right-hand arch to the small room with a wooden chest against its back wall.
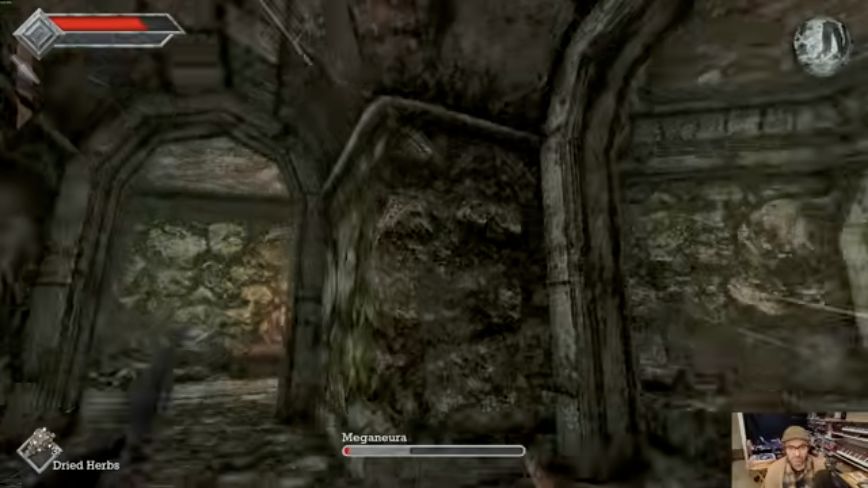
From this side of the junction, use the right-hand arch for the chest room. View full-size image Open the chest and collect Wooden Club
The chest sits beside the wall, with a brazier to its right and pots nearby. Open it, then collect the item by the name shown below.
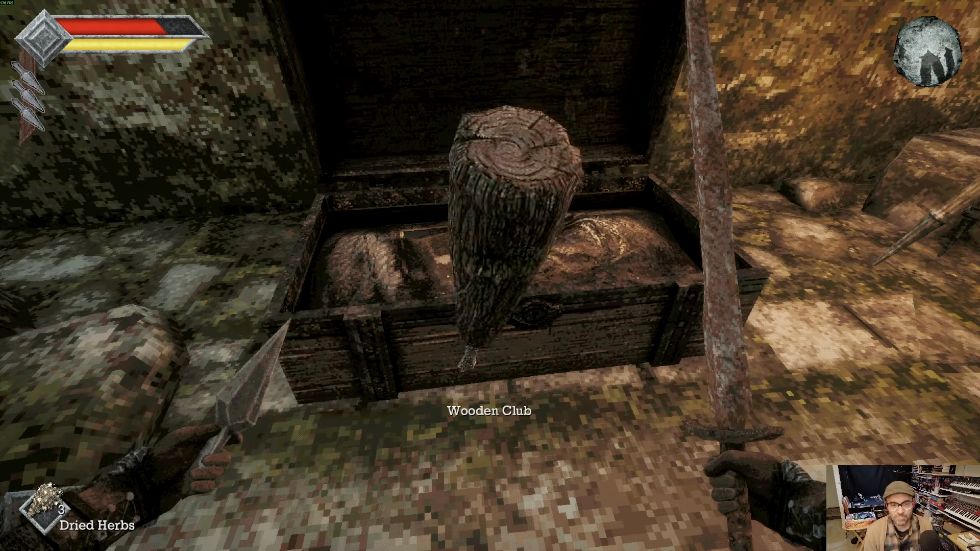
Wooden Club is the item in the chest. It is a different weapon from the Jar Club. View full-size image Done when: Wooden Club appears in your inventory.
Check its Impact damage type
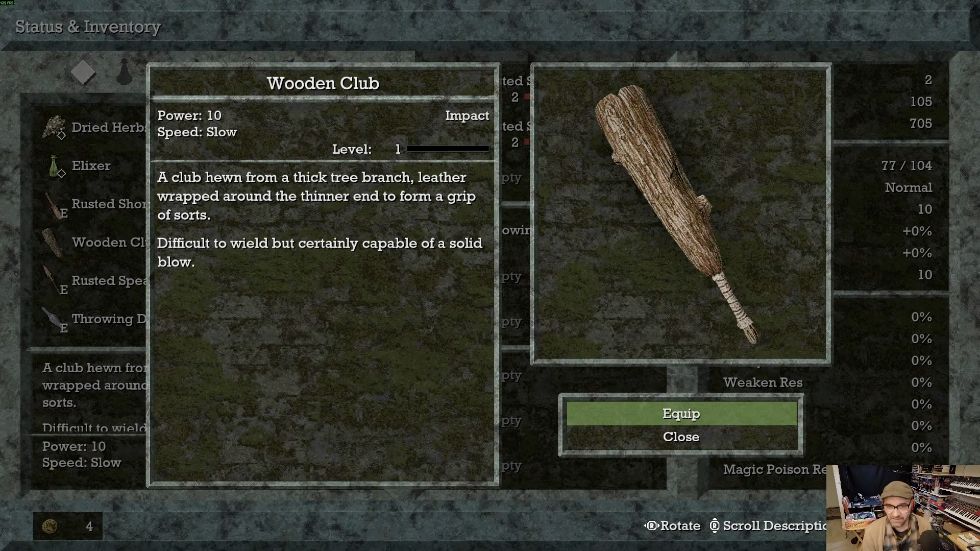
The Wooden Club inspection identifies its Impact damage type. View full-size image You can return to the hard barrels you passed on the upper floor and use the club. The recorded example needs repeated blows; a reaction without an immediate break does not mean the weapon is wrong.
Use the names and damage types to choose
Keep the spear for a Pierce option and the Wooden Club for Impact. This is not a damage ranking: the figures show the items and their types, not a current-build comparison against every enemy.
Wooden Club is not Jar Club. If a different club broke and left a Symbol of Jigeki, use the Jar Club follow-up. To continue to the key, return to the diamond-wall junction and follow the descending branch to the Endu Shrine Gate Key. Breaking the barrels is optional.