The key is on the lower hall's stone table
At the upper tomb's diamond-wall junction, take the descending branch, not the flower-enemy branch toward the Club. Follow the narrow stairs through the pointed doorway into the columned hall and collect Endu Shrine Gate Key from the low stone table. The lift and return-gate mechanism are separate parts of the way out.
On this page
Take the descending branch at the diamond wall
Start: the upper-tomb junction with the diamond-shaped wall relief. If you are still outside the tomb, follow the tower-to-tomb coastal approach and its stairs to this junction.
Coming from the Wooden Club chest? Retrace your route to the diamond-wall junction. Take the other branch that descends farther into the tomb, not the flower-enemy branch leading to the Club's twin arches. Stay on the main passage toward the narrow descending stairway.
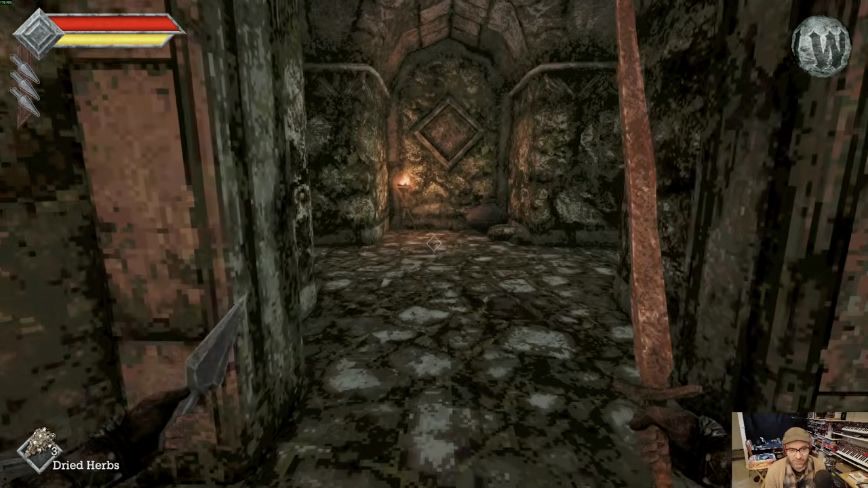
Collecting the Club and breaking the barrels in the side room are optional; neither is a step required to reach the key. Continue to the narrow stairs pictured below.
Start at the descending tomb stairs
Look for: the narrow descending stone stair passage reached from the diamond-wall junction's lower branch. The pointed doorway at its foot is your next landmark.
Follow the narrow stairs into the columned hall
Continue down the narrow stone stair passage. At its foot, pass through the pointed doorway into the larger room with tall columns and burial recesses.
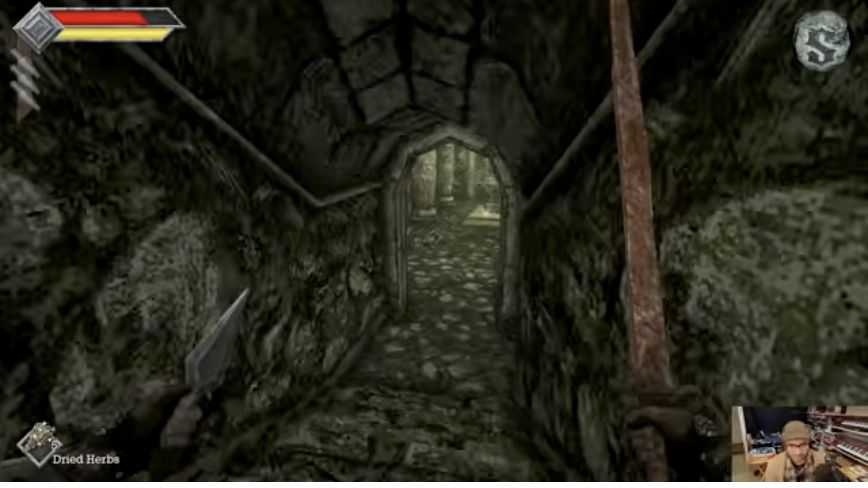
The narrow stairway ends at this pointed doorway. The lower hall lies beyond it. View full-size image Done when: you have left the stair passage and entered the wide hall.
Collect the key from the low stone table
Inside the hall, find the long, low rectangular stone table with a large vessel and stones on it. Move close enough to read the item name. Enemies are active here, so leave room to retreat into the stair passage if you need to recover your spacing.
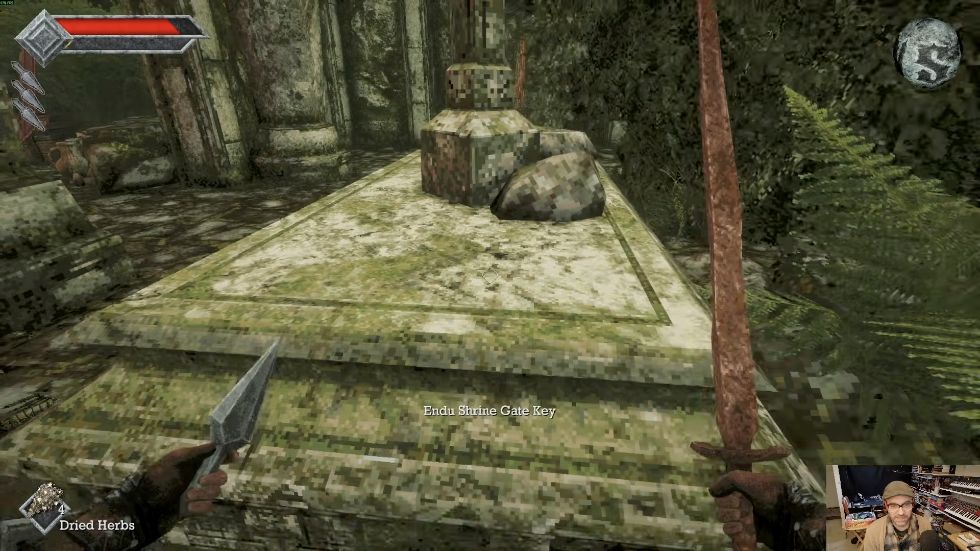
Done when: you have collected the item labeled Endu Shrine Gate Key. Do not use a nearby item or a gate's appearance as your confirmation.
Key collected? Follow the orange-lit reliefs to the lift and return gate. The return mechanism is a separate action from collecting the key.
If enemies barely take damage, check the attack bar and charged-attack timing before pushing farther.
Use the lift, then the return-gate mechanism
Find the passage with the orange-lit relief panels
After collecting the key, look around the hall for the narrow side passage with the orange-lit wall reliefs below. Continue past the wooden crates and around the stone corner toward the wooden lift platform.
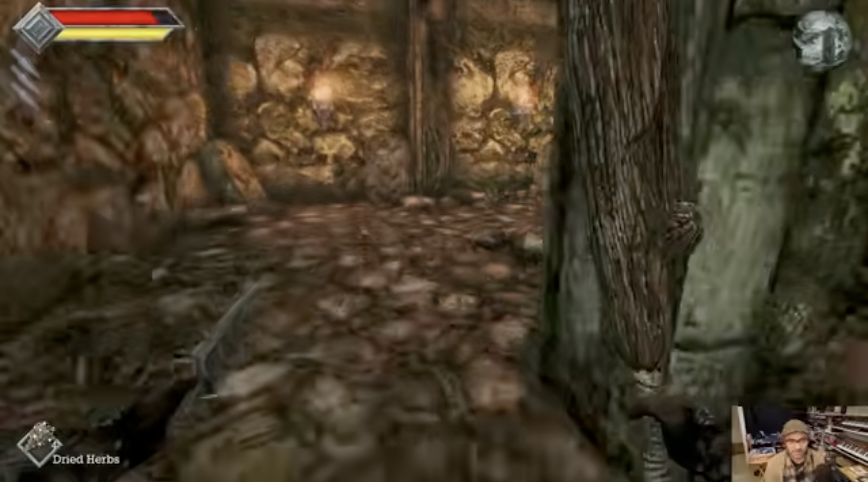
The orange-lit relief panels identify the side passage on the way to the lift. View full-size image Leave space between you and a following skeleton
A skeleton can follow you onto the lift. Draw it away from the platform first if you need room, then return to the boarded platform and ride upward. Collecting the key is not shown as the lift's activation condition.
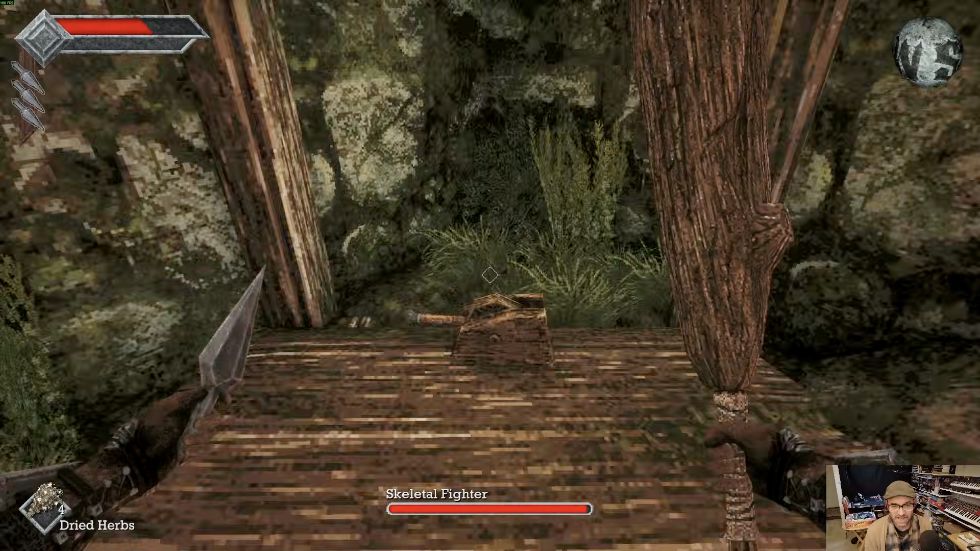
Recognize the boarded lift platform. Keep an eye on enemies following through the passage. View full-size image Use the mechanism beside the return iron gate
At the top, leave the lift and follow the stone passage to the barred iron gate. Use the wheel-like mechanism beside it, then pass through the opened gate to return outdoors.
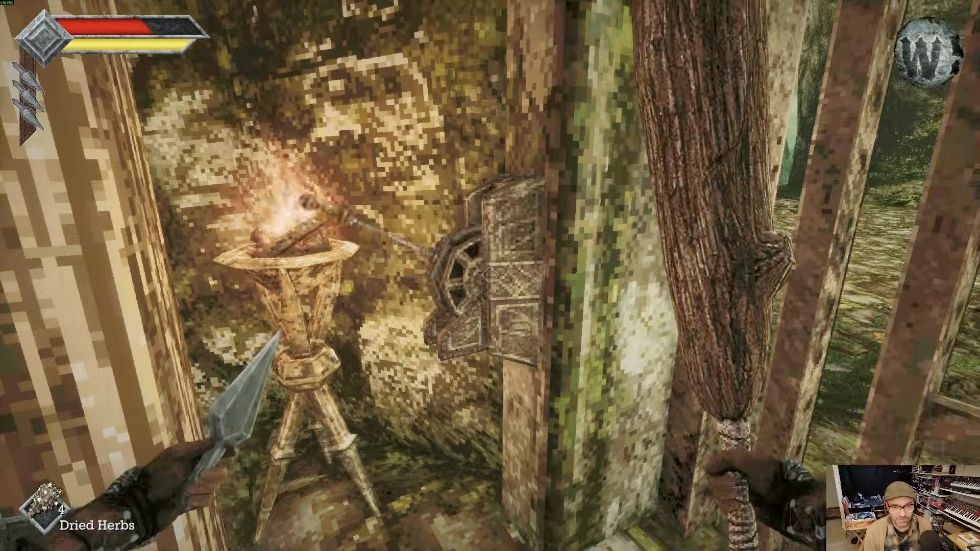
This gate-side mechanism opens the return route. It is separate from the Endu Shrine Gate Key pickup. View full-size image Done when: the return gate is open and you can step outside.
The return mechanism gets you outdoors. Use the separate Endu Shrine Gate Key at the bridge-end gate below; collecting the key is not the lift activation step.
Outside with the key? Continue along the coastal road to the actual Shrine Gate. You can Rest at a blue crystal before the fight.
From the surface to the Shrine Gate
The return iron gate above only gets you out of the tomb. Carry the Endu Shrine Gate Key to the shrine at the end of the narrow stone bridge.
- Return to the Crystal Monument and use Rest or Save as needed.
- Take the coastal road back toward the two small islands used for the Dagger Belt route. Keep the water on your left and the stone wall on your right.
- Pass the Forest Eye rock onto the sandy beach. Keep the wall on your right and take the narrow stone bridge extending over the sea.
- Cross the bridge to the tall arched iron gate with diamond-shaped openings. Interact with this gate to use the Endu Shrine Gate Key.
- Go through the opened gate into the arena. The Shrine Guardian guide begins here.
Done when: the bridge-end shrine gate opens and you enter the Guardian arena. The tomb's return-gate wheel is a different mechanism.
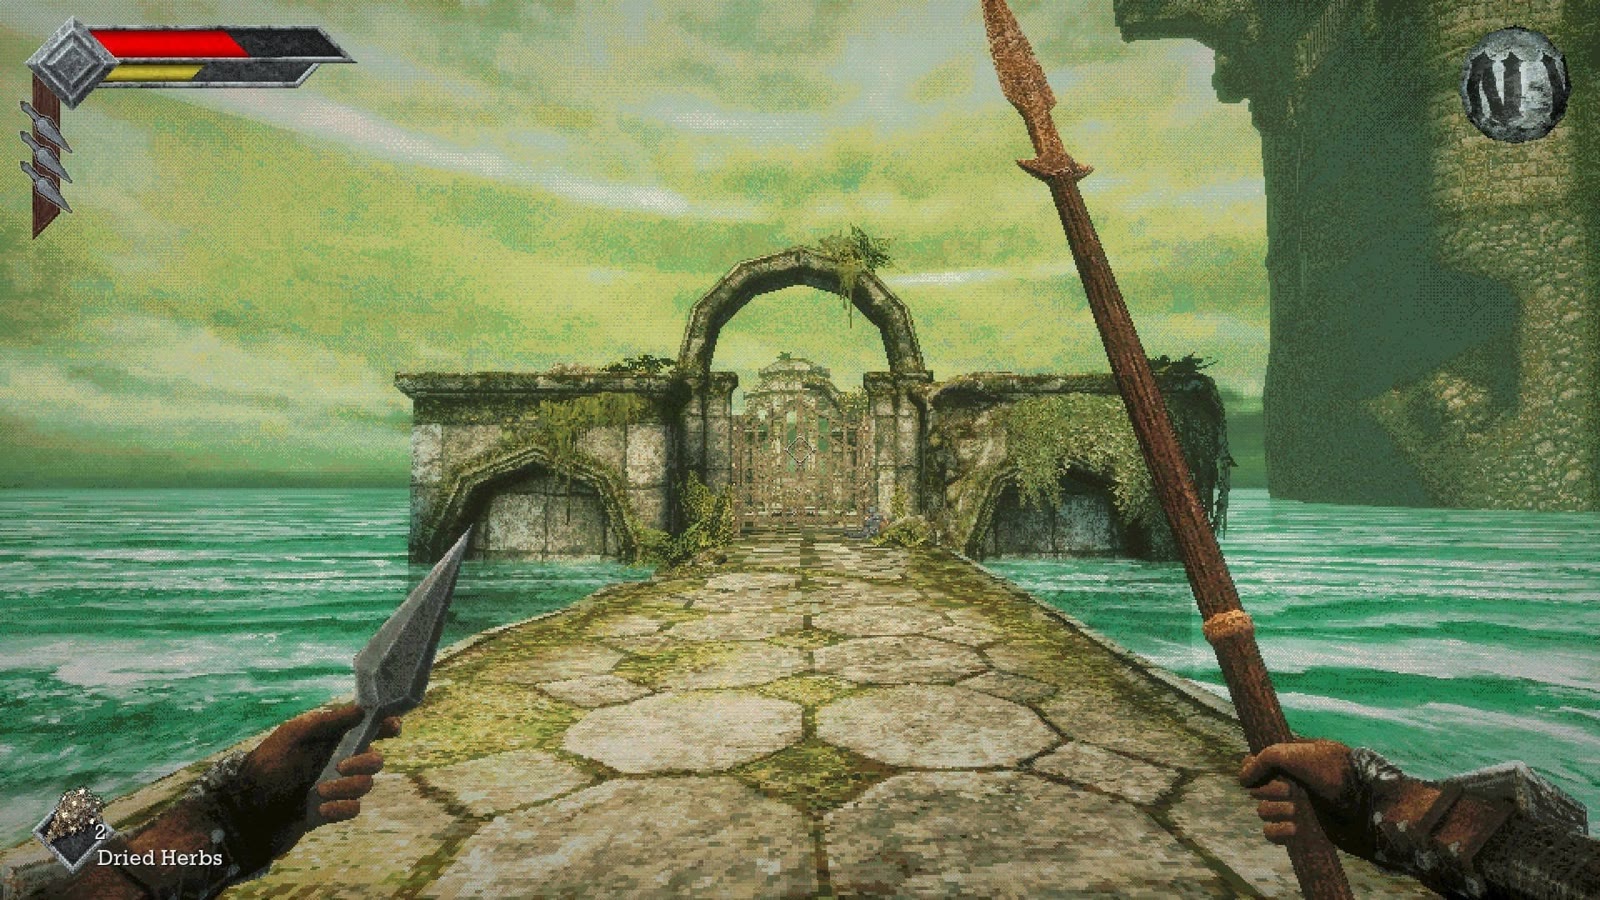
If the gate does not open, check that you are at the bridge-end shrine gate and that you collected the named key from the table. If you only opened the iron gate beside the tomb lift, follow the coastal directions above.